DIY Plantation Shutters: A Guide to Installing and Enhancing Your Home
Traditionally, plantation shutters were installed by professionals, but with the growing availability of ready-to-install kits, DIY plantation shutters have become an increasingly popular option for homeowners looking to save on installation costs and take control of their home improvements.
If you’re considering adding plantation shutters to your windows, opting for a DIY installation can be a rewarding and cost-effective choice. With the right tools, materials, and some basic instructions, you can enhance your home’s aesthetics and functionality without hiring an expert. In this guide, we’ll explore the benefits of DIY plantation shutters, the steps involved in installation, and some tips for making the process as smooth as possible.
Why Choose DIY Plantation Shutters?
- Cost-Effective
One of the biggest advantages of choosing DIY plantation shutters is the potential cost savings. Professional installation can add a significant expense to the overall project, and many people find that installing plantation shutters themselves allows them to cut down on labor costs.
- Customization
When you choose DIY plantation shutters, you have the flexibility to customize the look of your shutters to perfectly match your home’s decor. Many companies offer various options for materials, colors, finishes, and louver sizes, allowing you to tailor your shutters to suit your personal taste.
- Satisfaction of Completing a Home Project
There’s a certain sense of pride that comes with completing a home improvement project on your own. Installing DIY plantation shutters gives you the satisfaction of enhancing your home with your own hands, creating a sense of accomplishment that adds to the overall enjoyment of your living space. Additionally, you’ll gain new skills and confidence in tackling other home improvement projects in the future.
- Precision and Control
DIY plantation shutters give you complete control over the design and installation process. You’ll be able to measure your windows carefully, ensuring a precise fit for your shutters. Additionally, you can make adjustments and changes along the way to suit your preferences, such as adjusting the louver tilt for optimal light control or modifying the color scheme to match a room’s decor.
Step-by-Step Guide to Installing DIY Plantation Shutters
- Prepare Your Tools and Materials
Plantation shutter kit (available from most home improvement stores or online)
Measuring tape
Power drill and drill bits
Screws and wall anchors (usually provided in the kit)
Level
Pencil for marking
Saw (if you need to trim the shutters to size)
Screwdriver
Make sure you have a clean, well-lit workspace and that your windows are ready for the installation process. You’ll also want to ensure the shutters are compatible with your window type (e.g., framed or unframed).
- Measure Your Windows
Accurate measurements are crucial to ensure your plantation shutters fit properly. Start by measuring the width and height of the window frame. You should measure from the inside edges of the frame to get the most accurate results. Make sure to take measurements at several points, as window frames can sometimes be slightly uneven. Write down your measurements, and double-check them to avoid errors.
- Order Your Plantation Shutters
Once you’ve taken the proper measurements, you can order your DIY plantation shutters. Many suppliers offer customized shutters that are tailored to your specific measurements, ensuring a perfect fit. Some companies may also provide pre-cut kits that only require minor adjustments, saving you time and effort.
- Prepare the Shutter Frames
Once your shutters have arrived, carefully unpack them and check for any damage. If you need to trim the shutters to fit your window, use a saw to make the necessary adjustments. Be sure to measure twice before cutting to ensure accuracy.
- Install the Mounting Brackets
The next step is to install the mounting brackets onto the window frame. Using a pencil, mark the position of the brackets along the top of the window frame where the shutters will be installed. Check that the brackets are level and aligned properly, then use a drill to secure them into place with screws.
- Mount the Shutters
Once the brackets are securely in place, it’s time to mount the shutters. Depending on the kit, this may involve sliding the shutters onto the mounted brackets or attaching them with hinges. Use a level to ensure the shutters are perfectly straight before securing them into place. Once the shutters are aligned, tighten the screws to secure them firmly.
- Adjust the Louvers
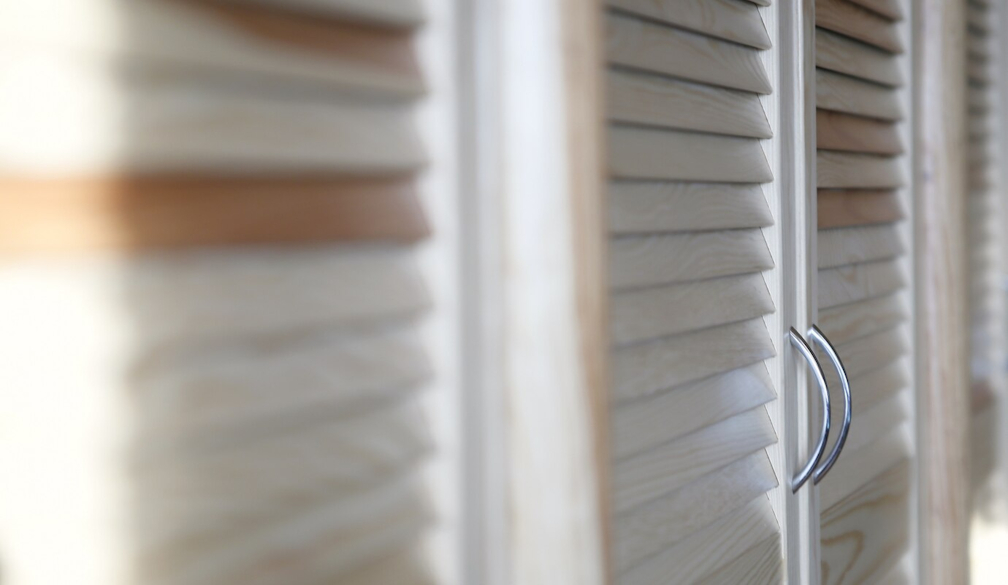
After the shutters are mounted, you can adjust the louvers to your desired angle. The beauty of plantation shutters lies in their adjustability, allowing you to control the amount of light entering the room and maintain privacy. Some shutters come with a tilt rod that lets you easily adjust the louvers, while other may have a hidden mechanism that works with a simple push or pull.
- Final Touches
After everything is securely installed, take a moment to inspect the shutters for any loose screws, uneven gaps, or other adjustments that may be needed. Make sure the shutters open and close smoothly, and check that the louvers tilt evenly.
Final Thoughts
Installing DIY plantation shutters is a rewarding project that allows you to enhance your home’s look while saving money on professional installation. With careful planning, attention to detail, and the right tools, you can achieve a beautiful and functional window treatment that adds elegance and practicality to any room. Whether you’re upgrading your living room, bedroom, or kitchen, DIY plantation shutters offer a timeless and customizable solution that will last for years.